
"You know they sell this stuff at the grocery store," they would say.
"Yeah, I know, but I'm trying to do this thing here. Is this cucumber?!"
This has inspired us to check out Elliot Coleman's book, Four-Season Harvest, and build ourselves some cold frames. We also chose a variety of seeds, that when planted in the late summer, should bear leaves for our munching mouths well into the winter.
But that was over the winter. Now that the lettuce is free flowing (at least for another week or so), now that there is kale, endive, tai soi, spinach, arugula, and mustard greens, well, I just can't seem to eat it all. Funny right? So I've taken the least desirable stuff, or at leas the stuff I can't eat all day long (like mustard greens) and put them in the freezer.

So, now we blanch. I had pretty good luck with it last year. I dehydrated a lot of stuff, but the greens I did freeze came out better. I decided not to dehydrate as much of my greens this year because they just crumble. So, while they can be added to soups and casseroles as a seasoning, there's never any greens in them. I also froze pepper strips, blanched, but they tasted, um, like frozen peppers...so we still have some. I found they were usable only in sausage and peppers, covered in sauce. And eggplant. I froze a bunch of peeled, sliced, blanched eggplant. Yeah, we still have most of that left also.
How to blanch?
1. Wash and Chop your greens. I like to make them into the basic size I would use them in cooking. For me, part of the benefit of doing all this work in the summer is to make the winters really, really easy.
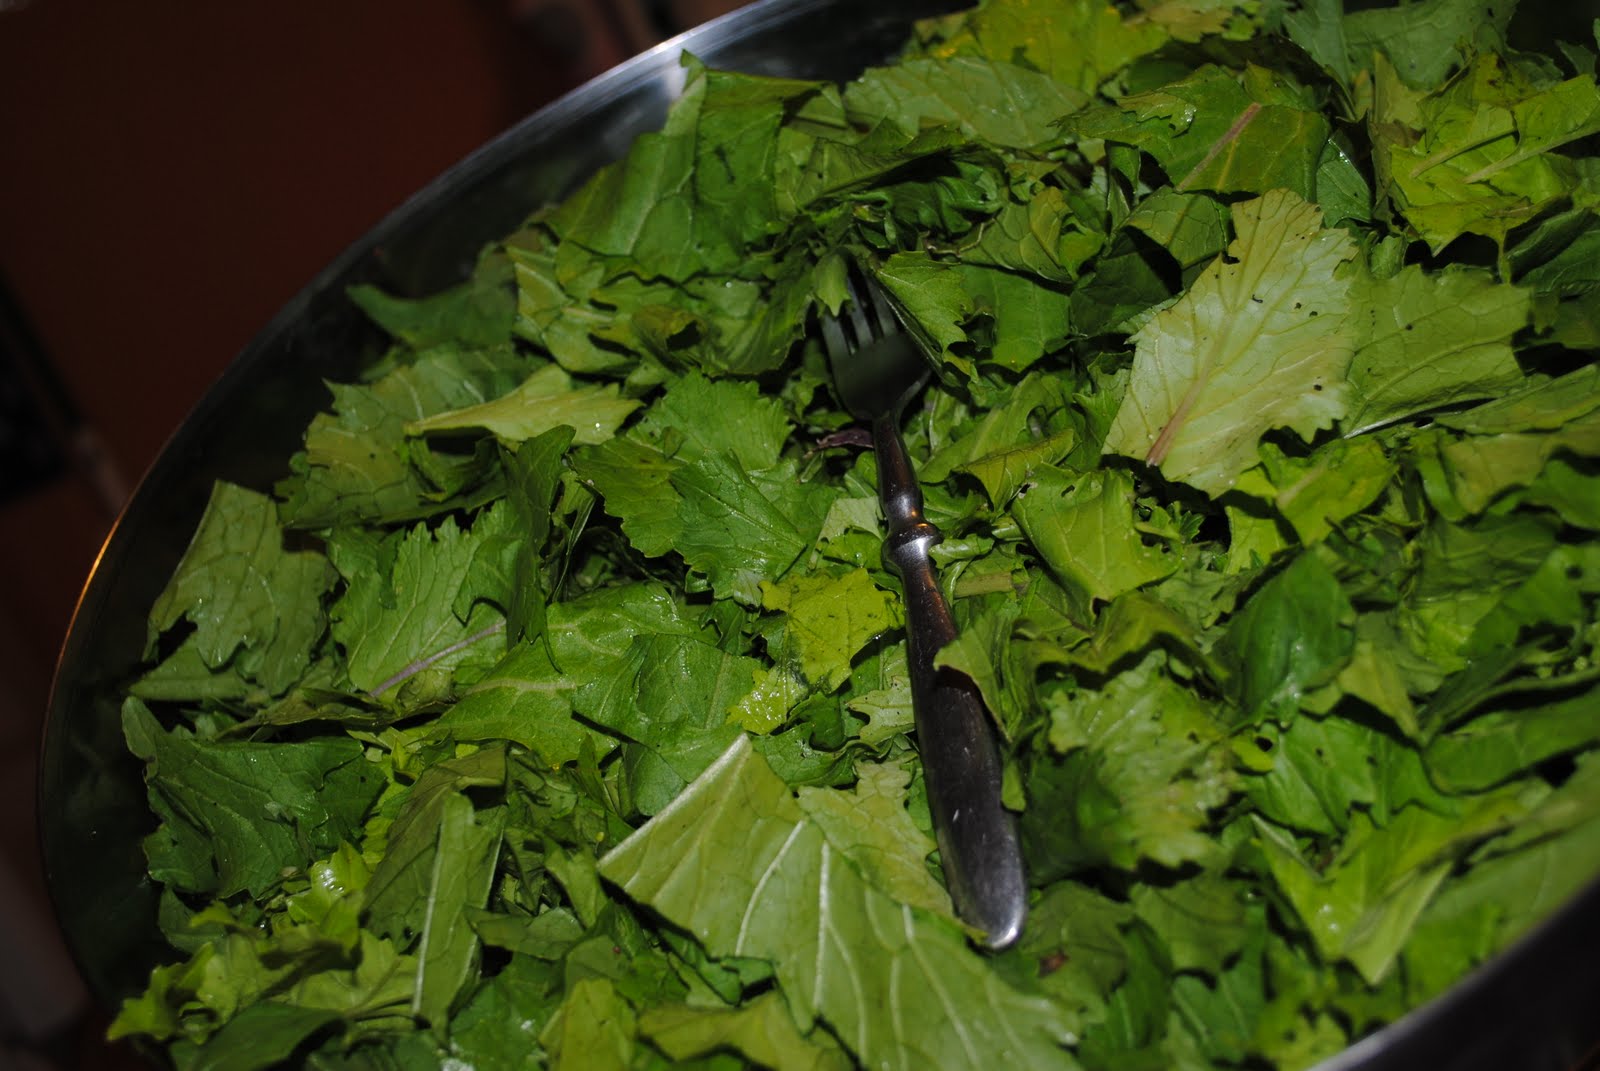
3. Put the greens in the water in batches not too big for the pot. (Isn't that helpful?) I basically blanch them one bunch at a time (this seems to be about a pound). You want to make sure the pot isn't so full that the leaves get stuck together, and so don't get blanched.


7. Label what it is with the date and freeze them in a freezer bag with as much of the air squeezed out as possible. If you're iffy about plastic you can use mason jars, just don't fill them too much. I vacuum seal them, but I do find that this is tricky because as the water gets sucked up it prevents the bag from getting a really good seal. I have found two ways of dealing with this, one press the "seal" button on the vacuum sealer before it's done really vacuuming (and so hasn't had enough time to suck the water up). I'm not sure all machines have this capability. The other thing I found works pretty well is to place some paper towels or coffee filters above the food inside the bag. This way the water gets absorbed into this and doesn't interfere with the seal.


Wow, mustard greens remind me of my Gran (Dad's mom) cooking them and stinking the whole house up. I remember hating the smell but loving the dinner, as I was allowed to use Dad's hot sauce on my greens.
ReplyDelete